


Wallpaper can transform a room in a single weekend without the dust and noise of a renovation, which is exactly why so many people want to try it. The good news: learning how to hang wallpaper doesn’t take special talent. It takes method, patience and a well-prepared wall. Most disappointing results — bubbles, gaping seams, mismatched patterns — come from rushing, not from a lack of skill.
Below you’ll find wall prep, tools, paste types, the step-by-step process and how to handle corners and outlets, plus a checklist and tips for renters.
Before you start: the wall decides the result
Wallpaper is thin and reveals everything underneath it: holes, cracks and dips show up afterward, especially under side lighting.
- Firm, smooth surface: fill holes and cracks with a suitable filler, let it dry and sand until even.
- New plaster needs to cure: for traditional cement-based plaster, paint manufacturers generally recommend waiting at least 28 days before finishing. Thickness, ventilation and humidity can call for longer.
- Even absorption: on new, sound surfaces a sealer or primer is usually applied; if the wall sheds dust or grit when you run your hand over it, a stabilizing primer is the better choice. Always follow the paste and wallpaper manufacturers’ instructions.
- No active moisture: mold spots, bubbling paint or walls that feel cold and damp point to a leak or condensation problem. No wallpaper fixes that — and the issue will come back underneath it. Have a professional find the cause first.
- Old wallpaper: ideally, remove it first.
One note from someone who deals with homes every day: bathrooms, kitchens and rooms that get very little sun deserve extra attention to moisture before any wall covering goes up.
Tools and materials
Gather everything before you open the first roll:
- Tape measure, pencil and a level (bubble or laser) or a plumb line.
- Utility knife with fresh blades.
- Wide trimming knife or broad scraper and a metal straightedge.
- Smoothing brush or plastic smoother and a seam roller.
- Short-nap paint roller and tray for the paste (when the method calls for pasting the wall).
- Bucket and soft sponge.
- A sturdy ladder and, ideally, a second pair of hands for long strips.
Each wallpaper type takes paste differently
This is what confuses beginners most. The label carries symbols that show the method — read them first.
| Type | Where the paste goes | What to watch |
|---|---|---|
| Non-woven | Directly on the wall | The backing doesn’t expand when wet, so the strip goes up dry and is easy to reposition. |
| Traditional paper | On the back of the strip | After pasting, the strip is folded onto itself and left to rest (“booking”) for the time the manufacturer specifies, so the paste can activate and the paper can relax. |
| Pre-pasted | Already on the back | The adhesive is activated with water, following the label instructions, and the strip is booked before hanging. |
| Peel-and-stick vinyl | Ready-made adhesive with a liner | Peel the liner a little at a time, top to bottom, smoothing with a plastic smoother to avoid bubbles. |
Always use the paste recommended for your wallpaper type.
Step by step: how to hang wallpaper
1. Plan your starting point
Start in an inconspicuous corner or next to a door frame, so the final seam — which rarely matches the pattern perfectly — lands somewhere it won’t be noticed.
2. Draw your first vertical line
No wall is perfectly plumb. Using a level or plumb line, mark a vertical line slightly less than one roll width from the corner. The first strip follows this line, not the corner. If it goes up crooked, every strip after it will too.
3. Measure and cut the strips
Measure the wall height and add a few centimeters (about 2 inches) at the top and bottom for trimming. With patterned papers, match the design before cutting the next strip — this is the pattern repeat, the distance at which the motif repeats, printed on the label.
4. Apply the paste for your type
For non-woven paper, roll paste onto an area slightly wider than one strip, without missing the edges. For traditional paper, spread paste evenly on the back and respect the booking time.
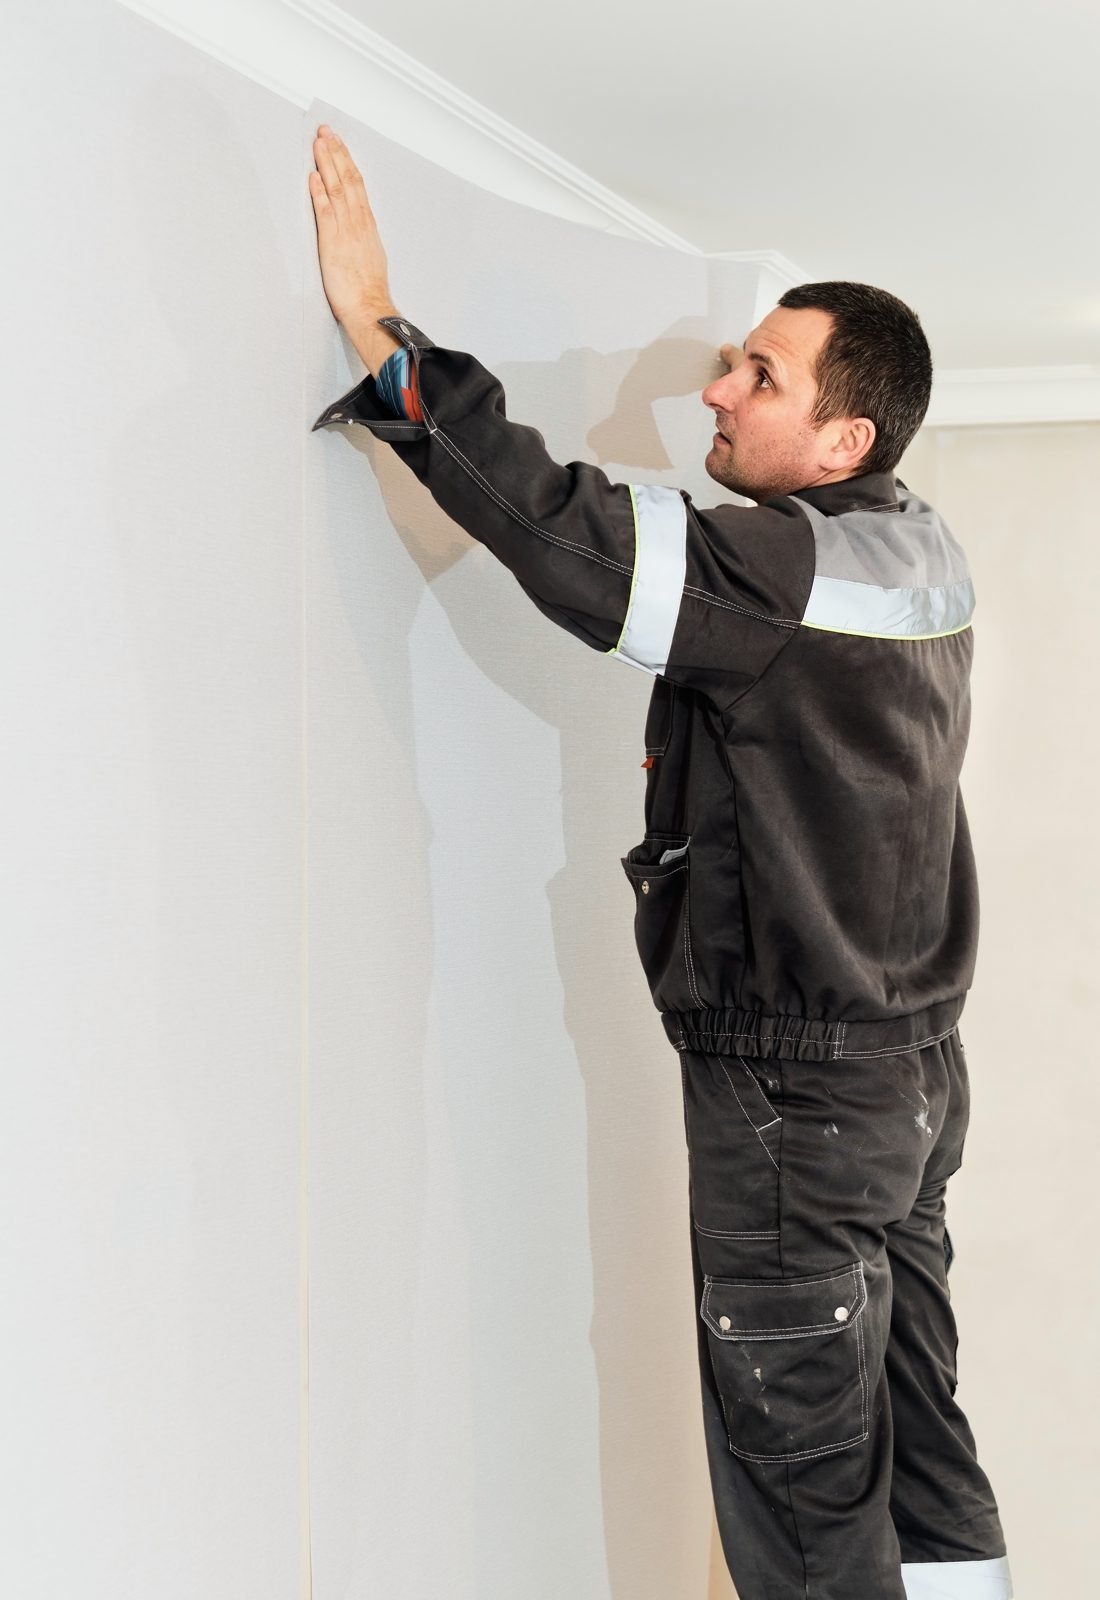
5. Position and smooth
Place the strip at the top, leaving the excess against the ceiling, and align its edge with your line. Smooth from the center out and from top to bottom, pushing air toward the edges.
6. Butt the seams
With most modern wallpapers, strips are butted edge to edge with no overlap. Run the seam roller with light pressure. Wipe off any excess paste right away with a damp sponge, without scrubbing.
7. Trim patiently
Hold the wide knife firmly at the ceiling or baseboard line and run the utility knife along it. Move the wide knife, never the blade alone, and change blades as soon as they start dragging the paper.
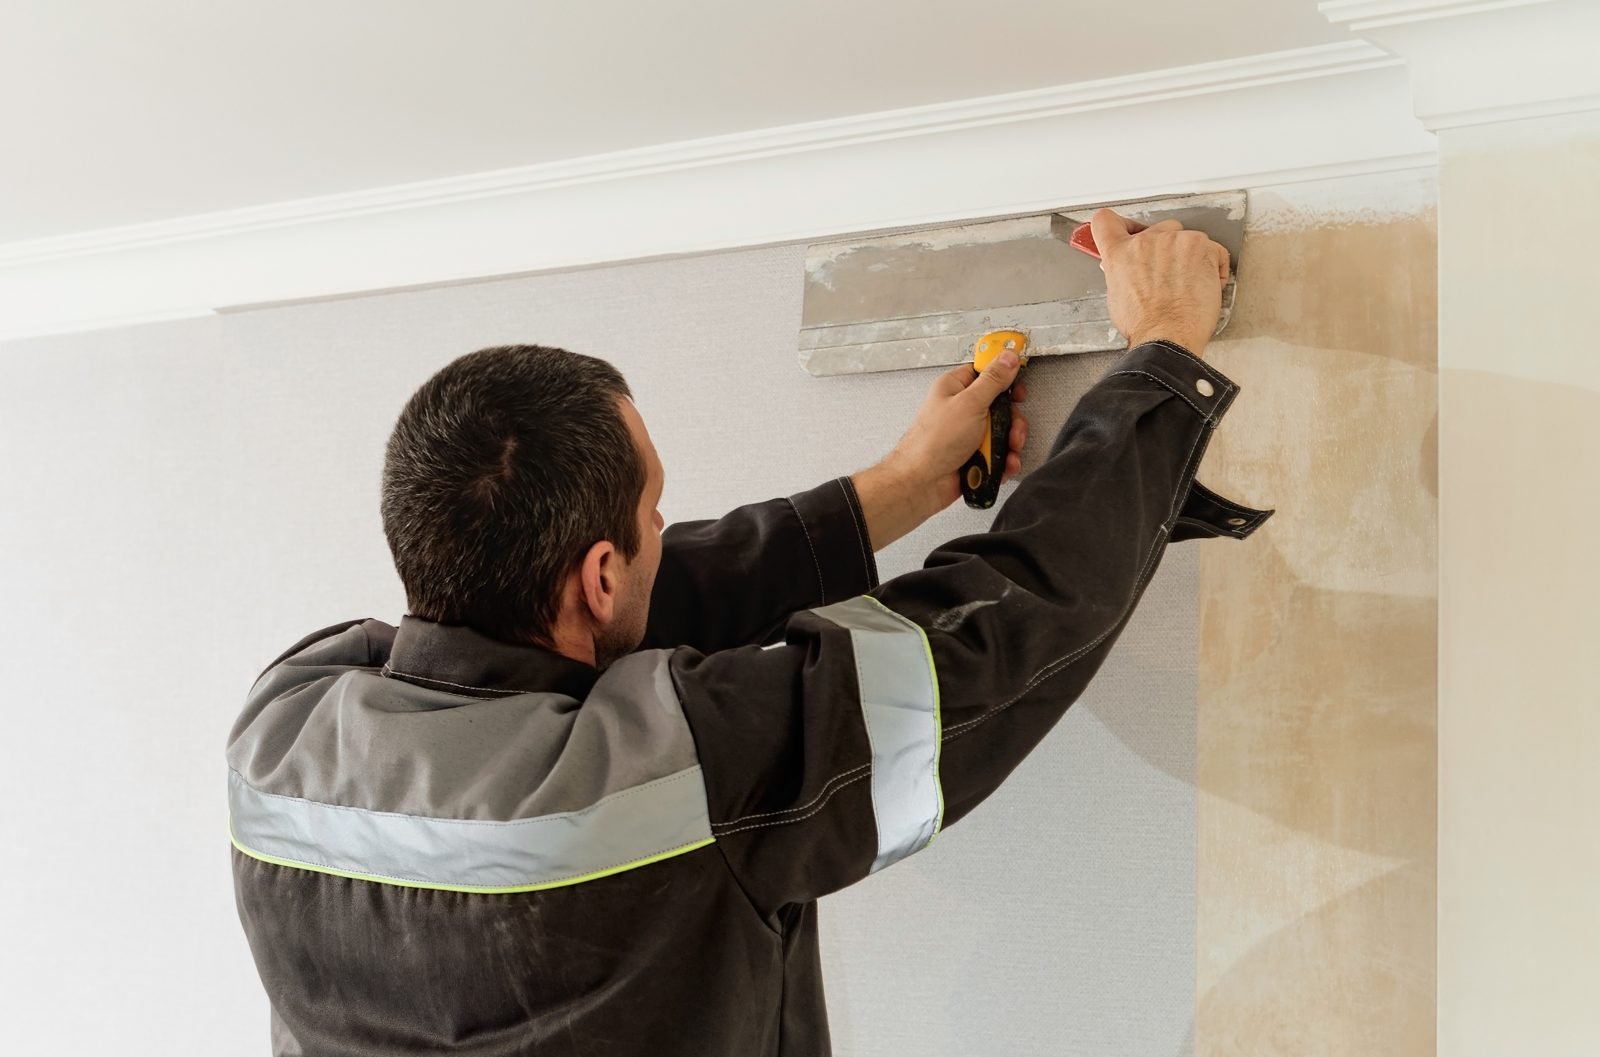
Corners, outlets and windows
- Inside corners: avoid folding a full strip into the corner. Wrap the paper about 1–2 cm (half an inch) onto the next wall, then start the next strip from a new plumb line, slightly overlapping in the corner.
- Outside corners: wrap the edge with a few centimeters of excess and check plumb before moving on.
- Outlets and switches: turn off the circuit at the breaker before removing the cover plates. Hang the strip over the box, cut an X over it and trim around the edge. If you’re unsure about anything electrical, call a licensed electrician.
- Windows and doors: let the strip run over the frame, make diagonal cuts at the corners and trim tight to the casing with the wide knife.
Common mistakes (and how to avoid them)
- Bubbles: usually caused by insufficient smoothing or uneven paste. While the paste is still wet, lift the strip and smooth it again.
- Seams opening up: not enough paste at the edges, or drying too fast because of drafts or a fan blowing directly on the wall.
- Mismatched pattern: strips cut without checking the repeat, or rolls from different batches. Buy all your rolls at once and check the batch number on the label.
If you’re still choosing a pattern and a wall, take a look at our guides to bedroom wallpaper ideas and living room wallpaper ideas, which cover scale, color and how many rolls to buy.
Wallpaper when you rent
Renters don’t have to give up on wallpaper, but they do need an exit plan. Check your lease and move-in inspection report and, if in doubt, get your landlord’s or property manager’s approval in writing. The most practical options are peel-and-stick vinyl and papers sold as removable, which usually come off in one piece without scraping. Even so, test a small piece in a hidden spot: some paints can peel during removal. For more ideas that move out with you, see our guide to renter-friendly decorating.
Checklist before you hang
- Wall dry, firm, smooth and free of any signs of moisture.
- Sealer or primer applied, if needed, and fully dry.
- All rolls from the same batch, with extra for waste.
- Paste method identified on the label (paste the wall, paste the paper or self-adhesive).
- Plumb line drawn and strips ready in order.
Frequently asked questions
Can I hang wallpaper by myself?
Yes, especially non-woven paper, which goes up dry and is easy to reposition. With high ceilings or complex patterns, a helper or a professional can save you wasted material.
Can I put wallpaper over tile?
It’s not recommended. Grout lines show through and the glossy surface hurts adhesion. Check with the manufacturer before trying.
How long does wallpaper take to dry?
It depends on the paste, the temperature and the humidity in the room. Follow the time on the label before hanging anything on the wall.
How do I remove wallpaper later?
Removable papers and many non-wovens peel off dry from a corner. Traditional papers usually need the surface dampened to soften the paste before you scrape carefully, without damaging the plaster.
Conclusion
Hanging wallpaper is a very doable project when you follow the right order: a prepared wall, the correct paste method, a plumb first strip and unhurried trimming. Have you wallpapered a room at home? Tell us how it went in the comments — or keep reading with another article on the blog.
Featured image: Photo: Nik / Unsplash
Receba ideias de decoração no seu e-mail
Dicas práticas de decoração, jardim e organização da casa. Ao se inscrever, você recebe de presente a planilha grátis "Planejador de Decoração e Reforma". Sem excesso de e-mails.
Deixe um comentário